Le remplacement d'une moquette est un projet de rénovation qui peut donner un nouveau souffle à une pièce. Que votre moquette soit usée, démodée ou que vous souhaitiez simplement changer, ce guide complet vous guidera tout au long du processus, depuis la reconnaissance du moment où il est temps de remplacer votre moquette jusqu'à l'installation d'un nouveau look.

1. Pourquoi remplacer votre moquette ?
Le remplacement de votre moquette peut considérablement améliorer l'esthétique, le confort et la propreté de votre maison. Voici quelques bonnes raisons d'envisager un remplacement :
- Rafraîchissement esthétique: Au fil du temps, tapis peuvent perdre de leur éclat et de leur attrait. Une nouvelle moquette peut instantanément renouveler l'aspect d'une pièce, en s'alignant sur les tendances actuelles en matière de design ou sur les préférences personnelles.
- Amélioration de la qualité de l'air: Les vieilles moquettes peuvent retenir la poussière, les allergènes et les squames d'animaux domestiques, ce qui nuit à la qualité de l'air intérieur. Leur remplacement peut contribuer à réduire les symptômes d'allergie et à créer un environnement de vie plus sain.
- Un confort accru: Une nouvelle moquette offre une surface plus douce et plus confortable sous les pieds, ce qui rend les espaces plus accueillants et plus chaleureux.
- Augmentation de la valeur du logement: Une moquette neuve peut rendre votre maison plus attrayante pour les acheteurs potentiels, ce qui peut augmenter sa valeur marchande.
Lire aussi : Comment choisir des moquettes pour les hôtels
2. Quand remplacer votre moquette ?
Il est essentiel de savoir quand remplacer votre moquette pour conserver une maison saine et esthétique. Voici quelques signes qui indiquent qu'il est peut-être temps de remplacer la moquette :
- Usure visible: Si votre moquette présente des signes d'usure importants, tels que des fibres plus fines ou des taches chauves, cela indique clairement qu'elle doit être remplacée.
- Taches et odeurs persistantes: Taches qui ne disparaissent pas avec le nettoyage et les odeurs persistantes, même après un nettoyage professionnel, suggèrent des problèmes profonds que le nettoyage ne peut résoudre.
- Poussées d'allergie: L'augmentation des symptômes d'allergie peut indiquer que votre moquette ne retient plus efficacement les allergènes.
- L'âge du tapis: La plupart des moquettes ont une durée de vie de 5 à 15 ans. Si votre moquette approche ou dépasse cet âge, il est peut-être temps d'envisager son remplacement.
Lire aussi : Comment nettoyer les taches de café sur votre tapis : Un guide professionnel
3. Préparation avant le remplacement de la moquette
Une bonne préparation est essentielle pour un remplacement de moquette réussi. Cette phase pose les bases d'une installation sans heurts et garantit la longévité et l'aspect de votre nouvelle moquette. Voici un guide complet pour vous aider à vous préparer efficacement :

Vider la pièce
Commencez par retirer tous les meubles, appareils électroniques et objets personnels de la pièce. Cela permet non seulement de libérer de l'espace pour l'installation, mais aussi de protéger vos biens contre d'éventuels dommages. Tenez compte des éléments suivants :
- Démonter un grand meuble: Démontez les objets de grande taille, comme les lits ou les étagères, pour faciliter leur enlèvement.
- Protéger les objets fragiles: Enveloppez les objets délicats ou de valeur dans des matériaux de protection pour éviter qu'ils ne se cassent.
- Sécuriser les animaux domestiques et les enfants: Veillez à ce que les animaux domestiques et les enfants soient tenus à l'écart de la zone de travail pour des raisons de sécurité.
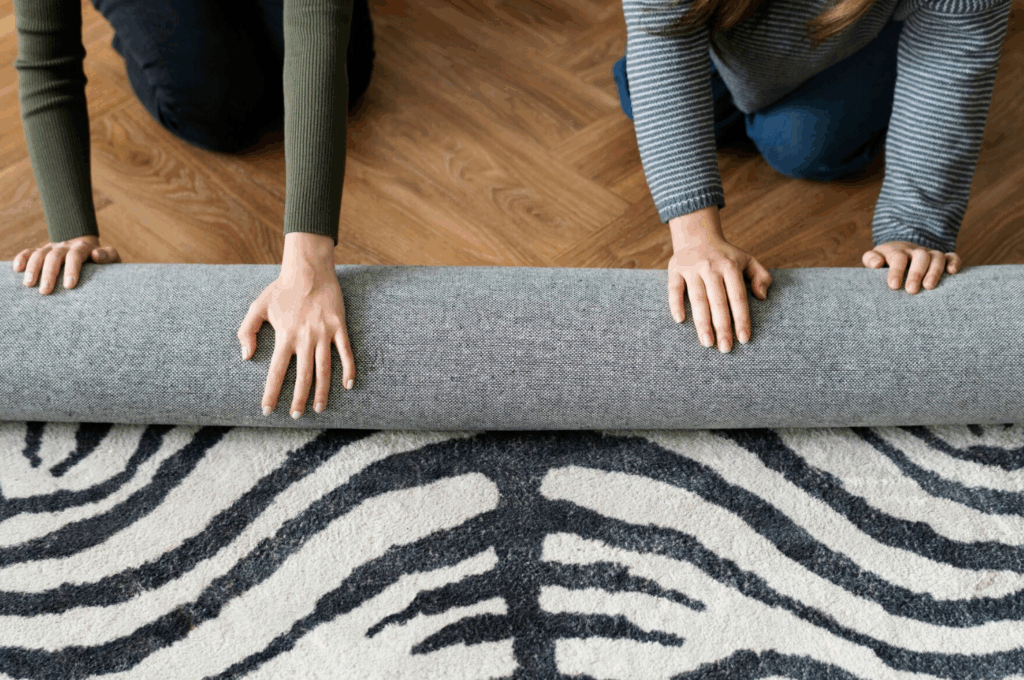
Enlever l'ancienne moquette et le rembourrage
Retirez soigneusement la moquette et le rembourrage existants afin de préparer le sol à la nouvelle installation.
- Couper la moquette: Utilisez un couteau utilitaire pour découper la moquette en bandes faciles à manipuler.
- Retirer les bandes adhésives: Si les bandes d'arrimage sont en bon état, elles peuvent être réutilisées. Dans le cas contraire, il faut les retirer avec précaution.
- Élimination des vieux matériaux: Éliminez correctement l'ancienne moquette et le rembourrage conformément aux réglementations locales.
Inspecter et préparer le sous-plancher
Une sous-couche propre et plane est essentielle pour la performance de la nouvelle moquette.
- Nettoyer le support: Balayer et aspirer la zone pour enlever la poussière, les débris et les clous.
- Vérifier l'humidité: Veillez à ce que le support soit sec. L'humidité peut entraîner la formation de moisissures et endommager la moquette.
- Niveler la surface: Corrigez les irrégularités en les ponçant ou en utilisant un produit de nivellement.
- Réparer les dommages: Réparez les fissures ou les trous dans le sous-plancher afin d'éviter tout problème futur.
Acclimater la nouvelle moquette
Laissez la nouvelle moquette s'adapter à la température et à l'humidité de la pièce avant de l'installer.
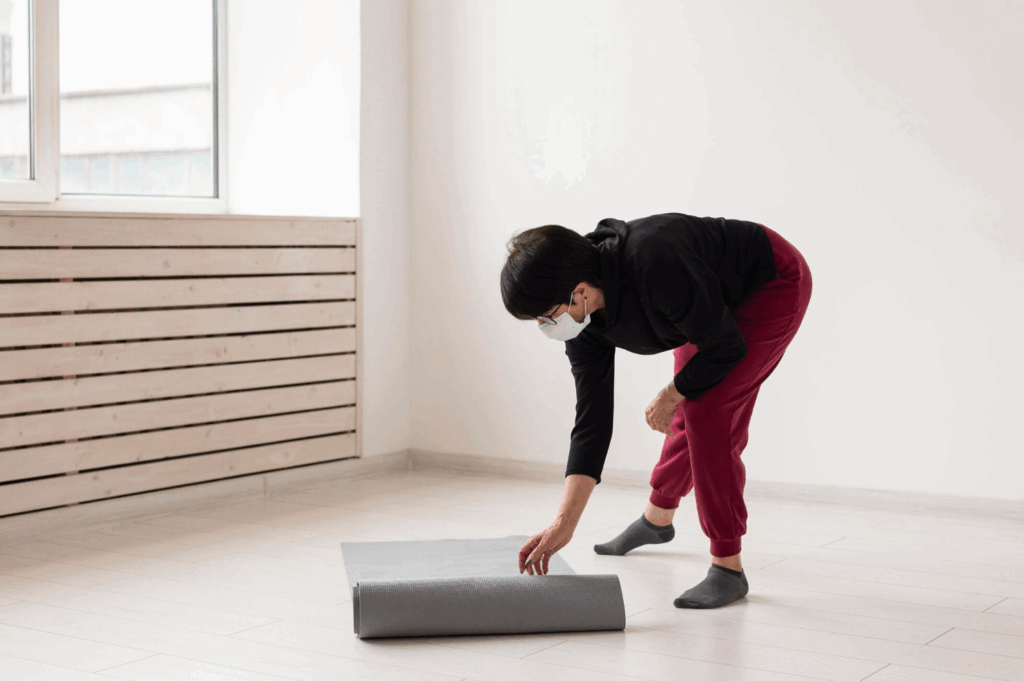
- Dérouler le tapis: Posez le tapis à plat dans la pièce pendant au moins 24 heures.
- Maintenir Température ambiante: Maintenez la pièce à une température constante afin d'éviter l'expansion ou la contraction des fibres de la moquette.
Rassembler les outils et les matériaux nécessaires
Veillez à disposer de tous les outils et matériaux nécessaires à l'installation.
- Outils essentiels: Couteau utilitaire, marteau, agrafeuse, ruban à mesurer, ligne de craie et genou.
- Matériaux: Bandes d'accrochage, rembourrage de moquette, bande de couture et bandes de transition.
- Sécurité Engrenages: Gants de travail, lunettes de sécurité et masque anti-poussière.
Planifier la disposition de l'installation
Planifiez stratégiquement la disposition de la moquette afin de minimiser les joints et de garantir une finition professionnelle.
- Déterminer la direction du tapis: Décidez de l'orientation des fibres de la moquette pour améliorer l'aspect de la pièce.
- Placement des coutures: Planifiez l'emplacement des coutures à l'écart des zones à forte circulation afin de réduire la visibilité.
- Zones de transition: Tenez compte de la façon dont la moquette rencontrera d'autres types de revêtements de sol, tels que le carrelage ou le bois dur, et prévoyez des bandes de transition appropriées.
4. Étapes du remplacement de la moquette
Le remplacement d'une moquette murale nécessite plusieurs étapes précises afin de garantir une installation sans faille et durable. Suivez ce guide complet pour obtenir des résultats optimaux.

Étape 1 : Mesurer la pièce et planifier l'agencement
Des mesures précises sont essentielles pour une pose de moquette réussie.
- Mesurer la pièce: Utilisez un mètre ruban pour déterminer la longueur et la largeur de la pièce. Multipliez ces dimensions pour calculer la superficie totale.
- Comptabiliser les déchets: Ajouter 10% à la superficie totale pour tenir compte des erreurs de coupe et de montage.
- Planifier l'agencement: Décidez de l'orientation du tapis, en l'alignant généralement sur le mur le plus long de la pièce pour créer une impression d'espace.
Étape 2 : Installation des bandes adhésives
Les bandes adhésives fixent la moquette au sol et l'empêchent de bouger.
- Positionnement: Placez les bandes adhésives sur le pourtour de la pièce, à environ un demi-pouce des murs.
- Clouage: Fixez les bandes au support à l'aide de clous ou d'un marteau, en veillant à ce que les punaises soient orientées vers le mur.
- Éviter les passages de porte: Ne pas installer de bandes adhésives sur les portes, mais plutôt des bandes de transition.
Étape 3 : Pose de la moquette
Le rembourrage assure le confort et prolonge la durée de vie de la moquette.
- Dérouler le rembourrage: Posez le rembourrage perpendiculairement au sens des fibres de la moquette.
- Agrafer vers le bas: Agrafez le rembourrage au support, en espaçant les agrafes d'environ 15 cm.
- Alignement des joints: Veiller à ce que les joints entre les pièces de rembourrage soient décalés et non alignés sur les bandes de fixation.
Étape 4 : Découper et poser la moquette
Une coupe et une mise en place correctes sont essentielles pour un ajustement parfait.
- Découpage: Déroulez la moquette dans un grand espace ouvert. Mesurez et coupez la moquette pour l'adapter à la pièce, en ajoutant 3 pouces de chaque côté pour l'étirer.
- Positionnement: Posez la moquette dans la pièce, en l'alignant sur les bandes adhésives.
- Couture: Si la moquette est en plusieurs morceaux, assemblez-les à l'aide d'un fer à repasser et d'un ruban adhésif, en veillant à ce que les coutures soient bien serrées et alignées.
Étape 5 : Étirer la moquette
L'étirement élimine les plis et assure une bonne tenue.
- Coup de pied au genou: Utilisez une genouillère pour tendre la moquette le long d'un mur, en la fixant aux bandes d'accrochage.
- Brancard électrique: Pour les grandes surfaces, utilisez un tendeur électrique pour étirer la moquette à travers la pièce, en la fixant au mur opposé.
- Étirement des bords: Utilisez un tendeur de moquette pour étirer la moquette dans les coins et le long des bords.
Étape 6 : Découper l'excédent de moquette
Le rognage permet d'obtenir des bords nets et un aspect professionnel.
- Parage: Utilisez un couteau utilitaire pour couper l'excédent de moquette le long des murs, en laissant environ un demi-pouce pour le border.
- Le pliage: Utilisez une pince à tapis ou un couteau à mastic pour replier les bords de la moquette sous les plinthes.
- Finition: Fixez la moquette repliée à l'aide d'un pistolet à agrafes si nécessaire.
Étape 7 : Installation des bandes de transition
Les bandes de transition permettent une transition en douceur entre les différents types de revêtements de sol.
- Placement: Installez des bandes de transition au niveau des portes ou à l'endroit où la moquette rencontre un autre matériau de revêtement de sol.
- Sécurisation: Clouez ou collez les bandes de transition en place, en veillant à ce qu'elles soient au même niveau que la surface de la moquette.
Étape 8 : Inspection finale et nettoyage
Une inspection minutieuse garantit la qualité de l'installation.
- L'inspection: Vérifiez qu'il n'y a pas de plis, de coutures ou de zones où la moquette n'est pas bien fixée.
- Nettoyage: Enlevez les débris, les agrafes et l'excédent de rembourrage de la pièce.
- Mise sous vide: Passez l'aspirateur sur la nouvelle moquette pour enlever les fibres détachées et fixer les poils.
Lire aussi : Taille du tapis pour la chambre à coucher : Guide d'expert pour chaque type de lit et chaque agencement de pièce
5. Conseils d'entretien pour les moquettes
Un entretien adéquat est essentiel pour prolonger la durée de vie de votre moquette mur à mur et de lui conserver son aspect frais. Un entretien régulier permet non seulement d'améliorer l'aspect esthétique, mais aussi de contribuer à un environnement intérieur plus sain.
Passer l'aspirateur régulièrement
Passer régulièrement l'aspirateur est la première ligne de défense contre la saleté et les débris.
- Fréquence: Passez l'aspirateur au moins deux fois par semaine dans les zones très fréquentées et une fois par semaine dans les zones moins fréquentées.
- Technique: Passez l'aspirateur dans plusieurs directions pour soulever la saleté et éviter qu'elle ne s'accumule.
- Equipement: Utilisez un aspirateur avec une forte aspiration et une brosse rotative pour un nettoyage efficace.
Traiter rapidement les déversements
Une action rapide peut empêcher les taches de s'incruster.
- Épongez, ne frottez pas: Utilisez un chiffon propre pour éponger immédiatement les liquides renversés, en absorbant autant de liquide que possible.
- Solution de nettoyage: Appliquez une solution détergente douce ou un nettoyant commercial pour tapis, en suivant les instructions du fabricant.
- Séchage: Après le nettoyage, veillez à ce que la zone soit bien séchée afin d'éviter la formation de moisissures.
Nettoyage en profondeur périodique
Le nettoyage en profondeur permet d'éliminer la saleté incrustée et de rafraîchir la moquette.
- Fréquence: Prévoir un nettoyage en profondeur tous les 12 à 18 mois.
- Méthodes: Envisagez de faire appel à des services de nettoyage professionnels ou de louer un nettoyeur de tapis.
- Séchage: Laissez un temps de séchage suffisant après le nettoyage pour éviter les moisissures.
Utiliser des tapis et des carpettes
Protégez les zones très fréquentées avec des revêtements supplémentaires.
- Placement: Utilisation tapis d'extérieur ou des tapis dans les couloirs, les entrées et sous les meubles.
- Rotation: Faites pivoter régulièrement les tapis pour garantir une usure uniforme.
- Nettoyage: Nettoyez les tapis séparément en suivant les instructions d'entretien.
Empêcher la pénétration de la saleté
Réduire au minimum la saleté et les débris qui pénètrent dans les zones recouvertes de moquette.
- Paillassons: Placez des paillassons à toutes les entrées pour piéger la saleté avant qu'elle ne pénètre dans la maison.
- Politique en matière de chaussures: Encouragez une politique d'absence de chaussures à l'intérieur afin de réduire l'accumulation de saletés.
- Qualité de l'air: Changez régulièrement les filtres des systèmes de chauffage, de ventilation et de climatisation afin de réduire les poussières en suspension dans l'air.
Coupez soigneusement les chicots
Traitez rapidement les accrocs de la moquette pour éviter qu'ils ne s'aggravent.
- Méthode: Utilisez des ciseaux pour couper les accrocs à la base, en veillant à ne pas tirer sur les fibres.
- La prévention: Évitez de traîner des meubles lourds ou des objets pointus sur la moquette.
Rotation occasionnelle du mobilier
Répartir uniformément l'usure.
- Mouvement: Réorganiser périodiquement les meubles pour éviter les empreintes permanentes.
- Coussinets de protection: Utilisez des coussins pour meubles afin de répartir le poids et d'éviter les dommages.
6. Conclusion
Le remplacement d'une moquette est un projet réalisable qui peut améliorer considérablement le confort et l'apparence de votre maison. En reconnaissant les signes indiquant qu'il est temps de remplacer la moquette, en la préparant de manière adéquate et en suivant les étapes d'installation appropriées, vous obtiendrez des résultats professionnels. Grâce à un entretien régulier, votre nouvelle moquette restera un élément esthétique et fonctionnel de votre maison pendant de nombreuses années.
7. FAQ
- À quelle fréquence dois-je remplacer ma moquette ?
Les moquettes durent généralement entre 5 et 15 ans, en fonction de leur qualité et de leur entretien.
- Puis-je poser une moquette sur une moquette existante ?
Ce n'est pas recommandé, car cela peut conduire à des surfaces inégales et à des dommages potentiels pour la nouvelle moquette.
- Dois-je enlever les plinthes avant d'installer la moquette ?
C'est facultatif. Certains installateurs préfèrent enlever les plinthes pour obtenir un bord plus net, tandis que d'autres placent la moquette sous les plinthes.
- Comment prévenir les rides de la moquette ?
Veillez à bien tendre la moquette lors de l'installation et évitez les meubles lourds qui risquent de la comprimer au fil du temps.
- Une installation professionnelle est-elle nécessaire ?
Bien qu'il soit possible de le faire soi-même, l'installation par un professionnel garantit une technique et des outils appropriés, ce qui permet d'obtenir de meilleurs résultats.